3 Easy Epoxy Resin Pour Projects
.iframe-container{
position: relative;
width: 100%;
padding-bottom: 56.25%;
height: 0;
}
.iframe-container iframe{
position: absolute;
top:0;
left: 0;
width: 100%;
height: 100%;
}
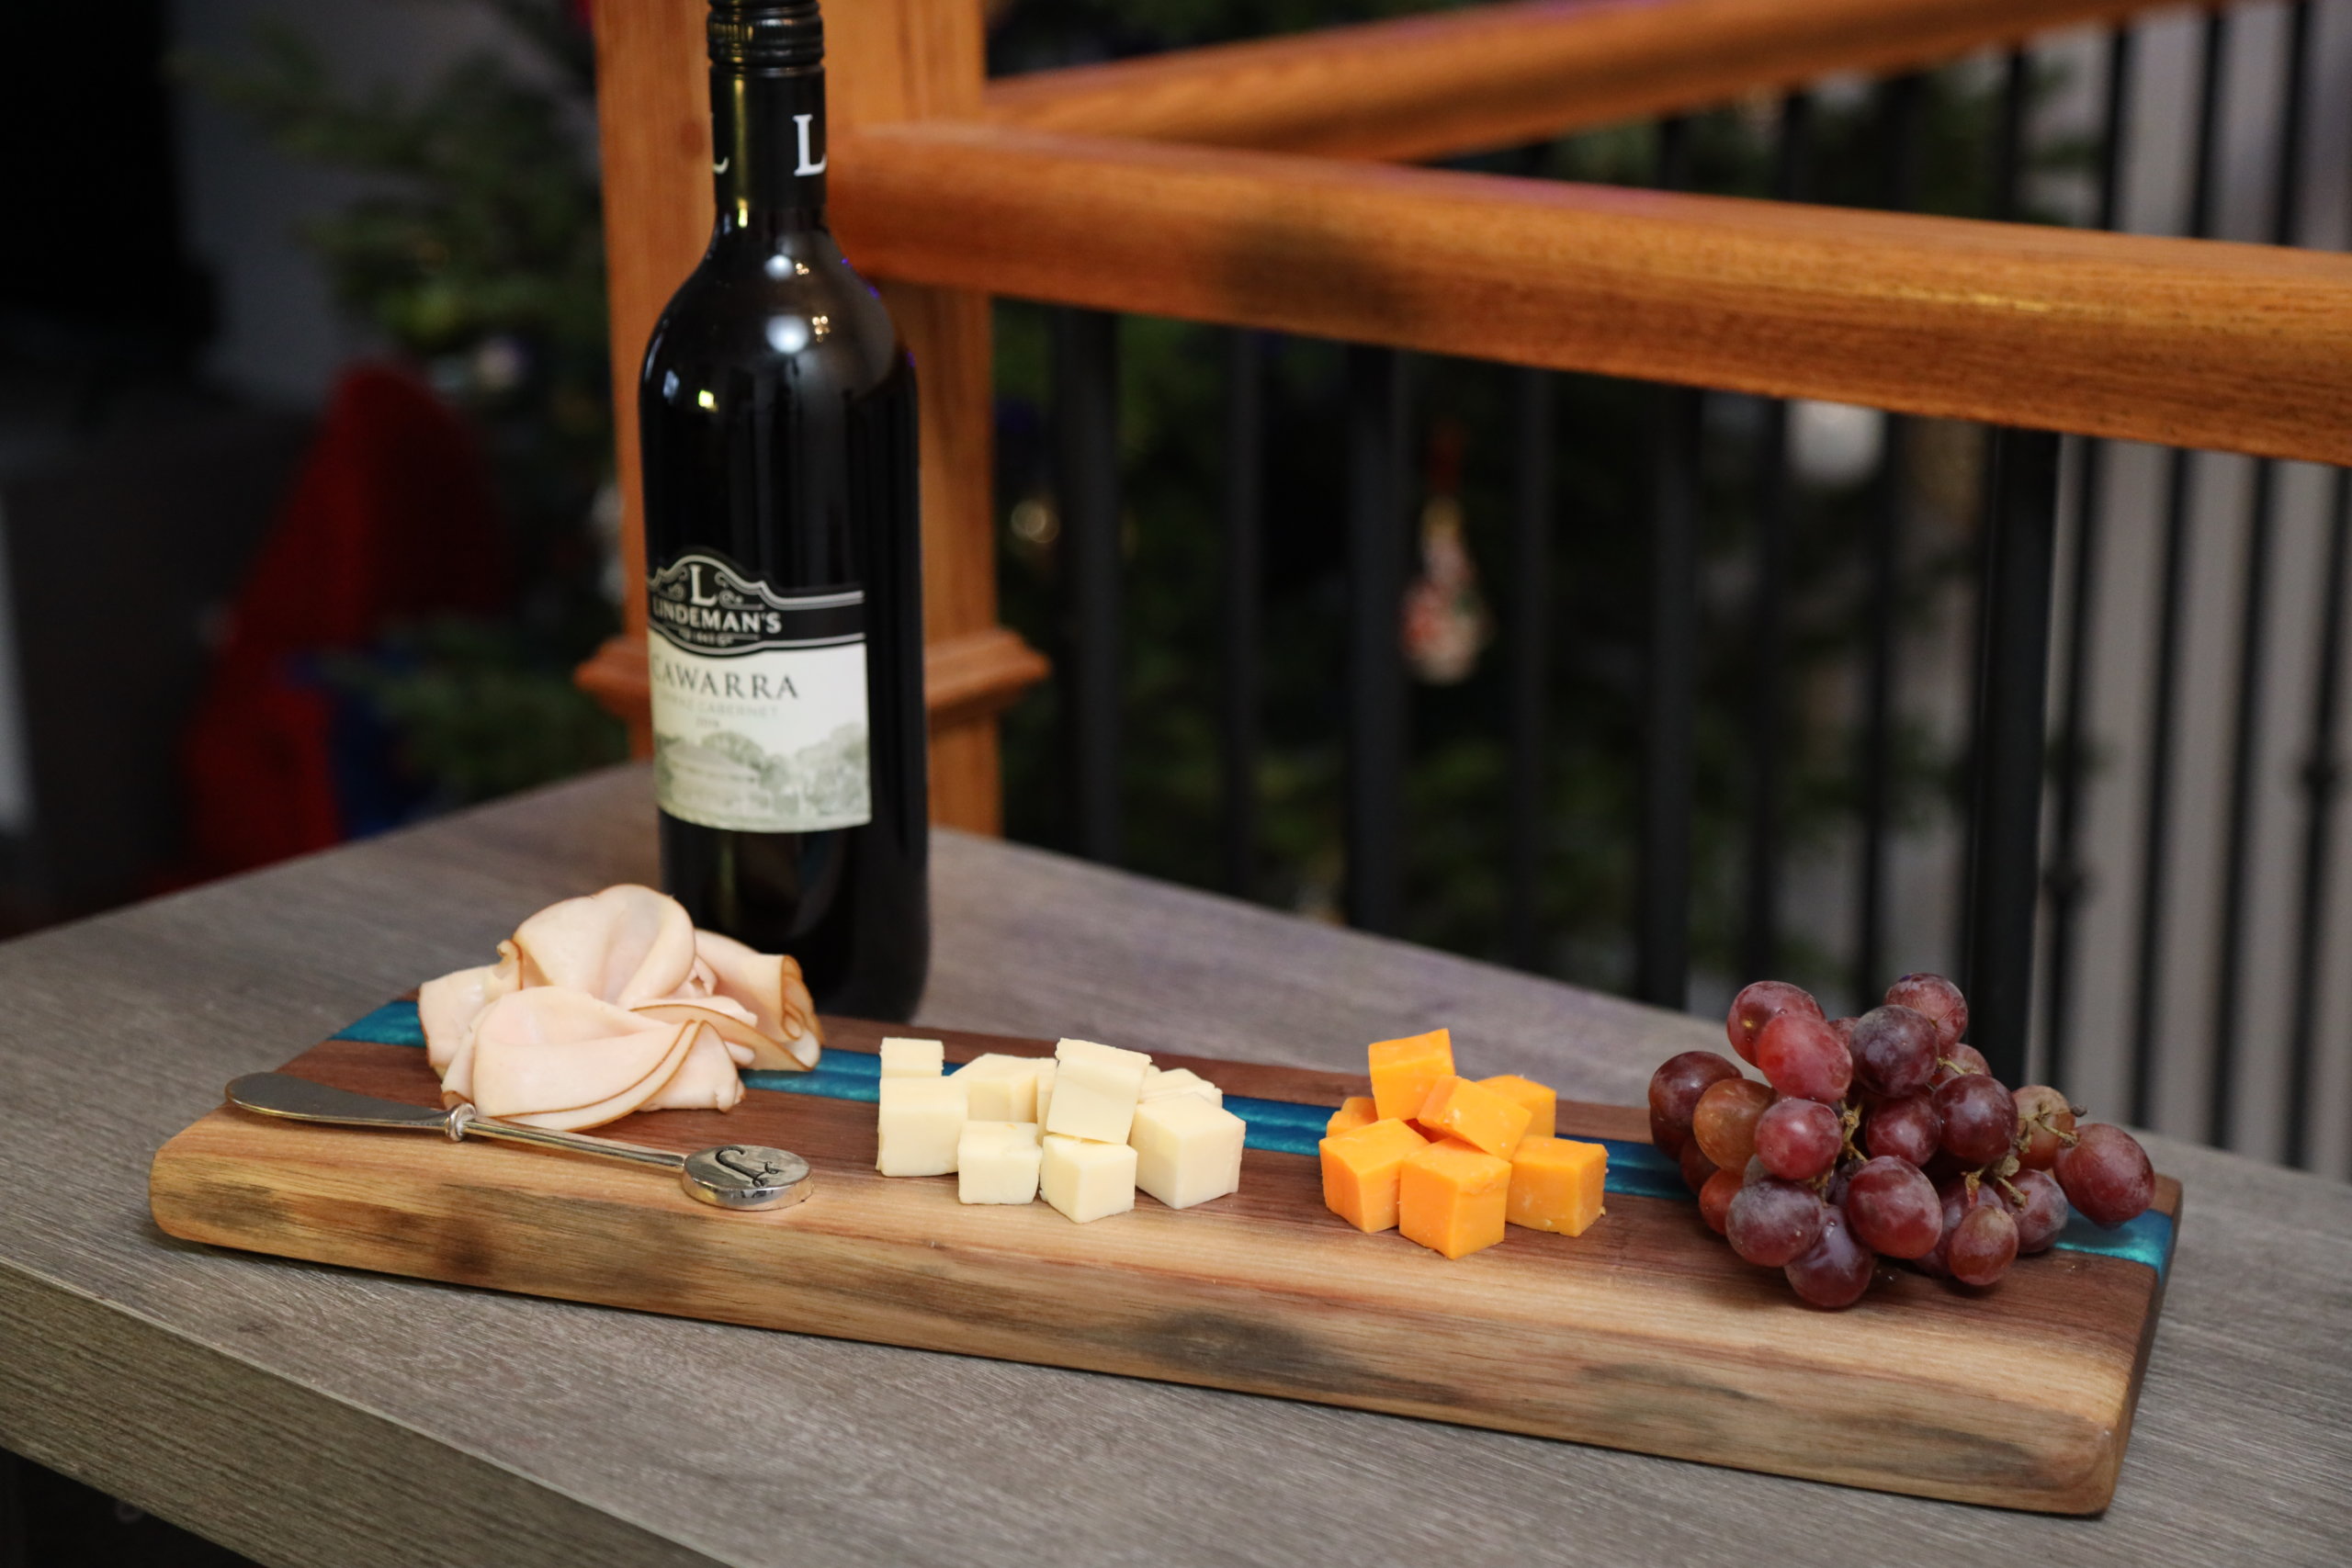
Epoxy Live Edge Charcuterie Boards
Supply List:
Table saw
Orbital sander
Sandpaper?80, 120, and 220 grit
Sanding block
Wet/dry sandpaper?1500 grit
Clean rags
Beeswax
Ecopoxy UV casting epoxy resin
Ecopoxy color powder pigment
Duct tape
Measuring cup
Plastic cups
Gloves
Mask
Safety glasses
Stir sticks or paint sticks
HEat torch
Live edge wood slab
We used a 1 1/8″ thick black walnut live edge slab
Step 1:
Choose a piece of live edge wood or a wooden slab that is at least 1″ thick. Step 2:
Remove any bark from the edge of the wood by scraping it off.
Step 3:
Use a table saw to cut a groove in the board. When setting the height of the saw blade, it should be no more than 1/2″ deep for this type of pour. For this technique, measure the width you want the groove to be. We made a 1″ wide groove. Move the table saw support 1/8″ for each pass through until you achieve the width you want.
Step 4:
Use a sanding block to sand the groove. Start with 80 grit sandpaper and then use 100 grit. Clear all dust from the surface of the wood when you’re finished.
Step 5:
Place duct tape at each end of the groove, sealing it tight so the epoxy will not leak through.
Step 6:
Mix the epoxy at a 1:1 ratio. We are using the Ecopoxy UV casting kit for ...
| -------------------------------- |
| Yves Béhar's Aura Power Clothing helps the older generation to move |
|
|


yongsik kim’s curvy como pet table collection is made of 100% silicone
25-03-2024 07:01 - (
architecture )